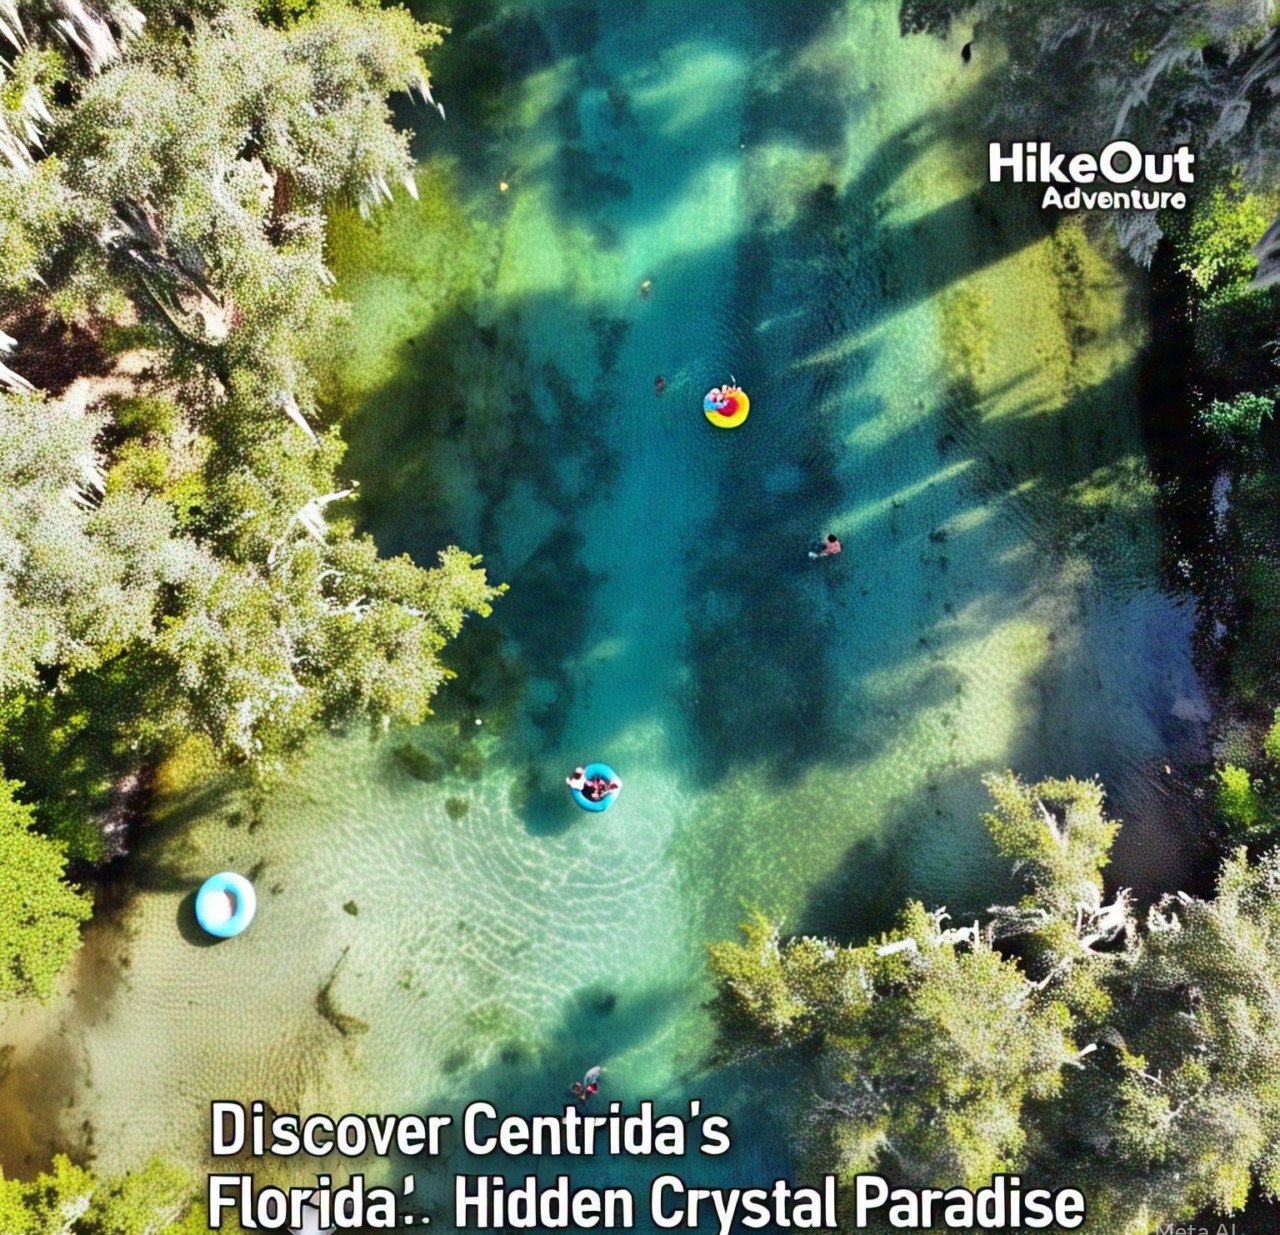
Discover Central Florida’s Hidden Crystal Paradise!
Kelly Park’s Rock Springs stands as one of Central Florida’s most breathtaking natural treasures—a crystal-clear oasis where adventure seekers and nature enthusiasts flock to experience the refreshing joy of tubing down a pristine lazy river. Located just a short drive from the bustling attractions of Orlando, this beautiful sanctuary offers a perfect escape where nature takes center stage and the clear water invites visitors to float their cares away.

{“Experience the breathtaking clarity of Rock Springs Run, where 26,000 gallons of pristine water flow per minute through this natural Florida oasis”}
Unlike the manufactured experiences of nearby theme parks, Rock Springs delivers an authentic Florida experience that connects you directly with the state’s unique natural wonders. The headspring pumps out an astonishing 26,000 gallons of crystal water per minute, creating a mesmerizing blue-green pool that serves as the starting point for a truly unforgettable tubing adventure.
Whether you’re a first-time visitor or a local who returns season after season, this comprehensive guide will help you plan the perfect day at one of Florida’s most beloved natural attractions.
Planning Your Perfect Rock Springs Adventure

{“Arriving early is essential during peak season – the park often reaches capacity before 10am on summer weekends”}
When to Visit: Seasonal Considerations
Rock Springs welcomes visitors year-round, but the prime tubing season runs from March through early November when the Florida weather is most accommodating. The park operates from 8 am to 8 pm daily, though water activities typically close an hour before the park gates.
During the summer months (June-August), the park experiences its highest visitor numbers, especially on weekends and holidays. The combination of school breaks and perfect weather conditions makes this period particularly crowded.
Spring Break (typically March) sees another significant surge in visitors, while the fall months of September and October offer a sweet spot of pleasant temperatures and reduced crowds.
Winter visitors (November-February) should note that while the spring maintains its constant 68-72 degrees year-round, the air temperature can make exiting the water rather chilly. However, on warmer winter days, you might have much of this paradise to yourself.
Seasonal Tip: The water temperature remains a consistent 68-72 degrees Fahrenheit regardless of season—refreshingly cool in summer and surprisingly warm in winter.
Beat the Crowds: Essential Arrival Strategy
The park operates on a strict first-come, first-served basis with no option to reserve spots in advance—a policy that preserves the natural experience but requires strategic planning:
- During peak season (May-September), plan to arrive at least 45-60 minutes before the gate opening at 8 am
- By mid-morning (around 10 am) on summer weekends, the park typically reaches capacity
- If you arrive after the park is full, inquire about afternoon vouchers from the ranger at the gate
- Once you receive a voucher, you can return at the specified time for guaranteed entry
- The park rarely re-opens for general admission once it reaches capacity
- Keep your receipt for re-entry if you plan to leave and return the same day
Locals know that weekdays offer a far more relaxed experience. If your schedule allows, plan your visit for a Tuesday or Wednesday to avoid the weekend crowds.
Navigation and Parking Details
Kelly Park is located at 400 East Kelly Park Road in Apopka, Florida, approximately 30 minutes from downtown Orlando. Follow these navigation tips for a smooth arrival:
- Once you approach the park entrance, you’ll encounter a roundabout that leads to the main gate
- After passing through the entrance, you’ll find several parking areas—the closest to the headspring fill up first
- Parking spaces are limited, which contributes to the capacity restrictions
- Once parked, look for signs directing you to the main spring area and tubing launch point
Entry Fees & Value Considerations
The entrance fee remains remarkably affordable compared to other Florida attractions, making Kelly Park an inexpensive option for family recreation:
- Regular vehicle (up to 8 people): $5 per car on weekdays, $10 on weekends and holidays
- Single-person entry (walking or biking): $3
- Annual passes are available for frequent visitors
This modest fee helps maintain the park while keeping this natural wonder accessible to all. Cash is preferred, though credit cards are accepted.
Essential Gear for Your Rock Springs Tubing Expedition
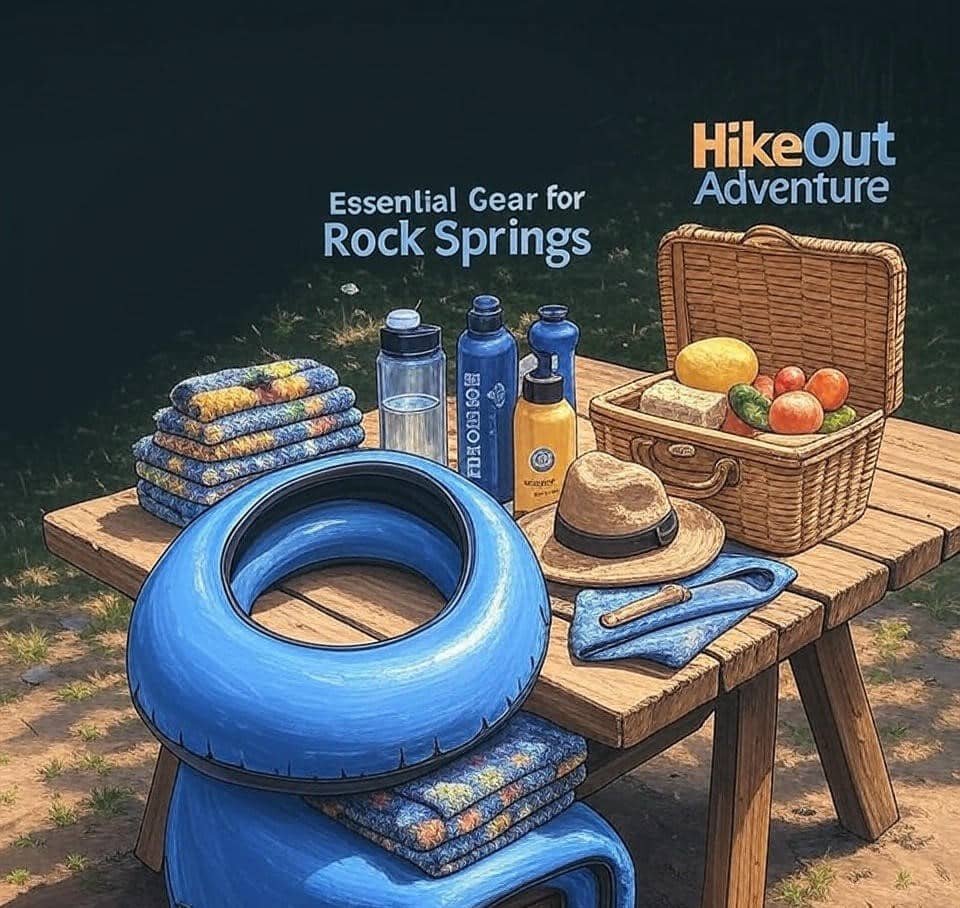
{ “Proper preparation makes all the difference – from the right size tube to water shoes that protect against rocky surfaces”}
Tubing Equipment: Choosing Your Floating Vessel;
The main attraction at Kelly Park is, of course, tubing down the run. You have several options for securing your tube:
- Bring your own: Inflatable tubes with a 32-36 inch diameter work best for navigating the narrow sections of the run. Many visitors prefer tubes with a hole in the center (inner tubes) rather than flat rafts, as they provide better navigation control.
- Rent locally: Several businesses near the park entrance offer tube rentals for around $7-$15 per day. Popular rental spots include Rock Springs Bar & Grill and vendors along Rock Springs Road. Some places require a driver’s license as collateral.
- Inflate at the park: If transporting fully inflated tubes is challenging, bring deflated ones and use an air pump in the parking area before heading to the spring.
Equipment Insight: Tubes approximately 32-36 inches in diameter offer the best balance between comfort and maneuverability through the occasionally narrow passages of the run.
Whichever option you choose, ensure your tube is properly inflated for maximum comfort and buoyancy. Underinflated tubes can make your journey less enjoyable as you might bump against rocks or scrape the bottom in shallow areas.
The Ultimate Packing Checklist;
The difference between a good day and a great day at Rock Springs often comes down to proper preparation. This comprehensive packing list covers everything you’ll need:
Essential Gear:
- Swimsuits that can handle occasional rocky encounters
- Quick-dry towels for after your adventure
- Watershoes (not flip-flops—the bottom is unexpectedly rocky and can hurt bare feet)
- Reef-safe or eco-friendly sunscreen (protect your skin and the springs)
- Sunglasses with secure straps
- Dry bag for phones, keys, and valuables
- Hats for additional sun protection
- Reusable water bottles (stay hydrated in the Florida heat)
Food & Refreshments:
- Healthy snacks and drinks in non-glass containers
- Picnic supplies if planning a meal
- Cooler with ice for keeping drinks cold
Comfort Items:
- Folding chairs for relaxing between runs
- Blankets for laying out on grassy areas
- Change of clothes for after your water activities
- Small portable fan for hot days
- Bug spray to keep insects at bay
Safety & Convenience:
- Cash for admission, rentals, and the concession stand
- Camera (waterproof if possible) to capture memories
- Hand sanitizer and wipes
- Small first aid kit
- Trash bags (help keep the park clean)
Items to Leave Behind:
- Alcohol (strictly prohibited)
- Glass containers of any kind
- Large floating devices that won’t navigate narrow passages
- Disposable plastics that could harm the ecosystem
- Pets (except service animals)
Dressing for Your Adventure
The ideal attire for Rock Springs balances comfort, protection, and practicality:
- Wear swimsuits that stay secure while floating and climbing in and out of the water
- Consider rash guards or swim shirts for additional sun protection
- Watershoes are essential—the bottom of the run features occasionally sharp rocks
- Avoid loose jewelry or valuables that could be lost in the water
- Bring a change of clothes and towels for afterward
Wardrobe Wisdom: Many experienced visitors wear quick-dry clothing over their swimsuits for the walk back from the end of the run, providing sun protection and comfort.
Navigating the Magical Rock Springs Run
The Headspring: Starting Your Journey;
Your adventure begins at the headspring, where thousands of gallons of crystal water surge from underground every minute, creating a mesmerizing blue-green pool that sparkles like turquoise gemstones in the sunlight.
From the parking area, follow the main path to the spring area, where you’ll find a wooden boardwalk leading to viewing platforms overlooking the headspring. Descend the stairs to access the water’s edge—your launch point for the tubing adventure.
The headspring area itself is worth exploring before beginning your float. Its clear water reveals fascinating limestone formations and occasionally small fish darting about. The water’s remarkable clarity allows you to see straight to the bottom, even at the deepest points.
The Main Event: Floating the Springs Run;
Once you push off from the headspring, you’ll begin a magical floating journey that typically takes 30-45 minutes to complete (though many visitors linger longer to enjoy particular spots). The lazy river winds approximately three-quarter mile through a natural paradise:
- The water depth varies from ankle-deep to several feet but remains shallow enough that you can stand in most areas
- The gentle current does most of the work, allowing you to relax and take in the scenery
- You’ll pass under charming wooden bridges that frame perfect photo opportunities
- The route features several wider pool areas where you can pause and enjoy the surroundings
- Canopies of ancient oak and magnolia trees provide welcome shade along much of the run
- The limestone bottom creates a fascinating landscape of underwater terrain
As you float, be alert for shallow spots where your tube might briefly bump against the rocky bottom. A gentle push with your hands or feet will usually free you to continue floating downstream.
Lifeguards are stationed at key points, but always pay attention to your surroundings and stay safe. The park has established safety rules to protect both visitors and the natural environment.
The Route: Key Landmarks Along the Way;
Your journey down the run includes several notable landmarks that help you track your progress:
- The Headspring Pool: Your starting point, featuring the deepest and most open swimming area.
- First Bridge: Shortly after beginning your float, you’ll pass under a wooden bridge that marks the transition from the headspring pool to the narrow run.
- The Cave: About halfway through the run, some visitors spot a small limestone cave formation on the bank—a reminder of the area’s fascinating geology.
- The Rapids: A slight narrowing of the channel creates a gentle increase in water speed—nothing dangerous, but a fun little boost to your journey.
- Final Bridge: This bridge signals that you’re approaching the end of your float.
- Exit Ramp: Watch for the exit ramp on the right-hand side of the run. This is where you’ll dismount from your tube and begin the walk back.
Finding Your Way Back: The Return Path
After exiting the water at the designated ramp, you’ll find a well-marked path that leads back to the headspring area. This sidewalk meanders through wooded areas and takes approximately 5-10 minutes to walk.
Many visitors complete multiple runs throughout their day, with each trip offering new discoveries and perspectives on this natural wonder. The round-trip experience—floating down and walking back—typically takes about an hour.
The Rock Springs Experience: What Makes It Special
Crystal Clear Waters: Nature’s Perfection;
What sets Rock Springs apart from other Florida water destinations is the remarkable clarity of its water. Fed directly from underground springs, the water emerges crystal-clear and maintains this pristine quality throughout the run.
The clarity allows you to observe underwater life and geological features with perfect visibility. On sunny days, sunlight penetrates the water to create dazzling refractions and a mesmerizing play of blues and greens that photographers treasure.
The consistent 68-72 degree temperature offers relief from Florida’s notorious heat without being uncomfortably cold. This refreshing quality makes Rock Springs enjoyable even during the hottest summer months.
Natural Beauty: A Living Ecosystem;
The area surrounding Rock Springs showcases the rich biodiversity of Central Florida’s unique ecosystems. As you float or explore the park’s trails, you might encounter:
- Various species of turtles basking on rocks or swimming below
- Native fish species darting through the clear water
- Birds including kingfishers, herons, and occasionally pileated woodpeckers
- Lush vegetation including ancient oak trees, pines, and magnolias
- Native Florida plants and flowers along the banks
The entire run exists within a carefully preserved natural area that protects these habitats and the creatures that call them home. Visitors play an important role in conservation by following park rules and minimizing their environmental impact.
Family-Friendly Adventure: Accessible Nature;
Unlike many natural attractions that require advanced skills or equipment to enjoy, Rock Springs offers an accessible adventure suitable for most ages and ability levels:
- The gentle current carries tubers without requiring swimming skills
- Most of the run is shallow enough to stand in
- Lifeguards monitor key areas during peak times
- The well-maintained facilities include restrooms, changing areas, and picnic spots
- The relatively short length of the run makes it manageable even for younger children
This accessibility makes Kelly Park an ideal destination for family outings, introducing young people to the wonders of Florida’s natural treasures in a safe yet exciting environment.
Beyond Tubing: Exploring Kelly Park’s Hidden Treasures
Picnic Perfect: Scenic Spots for Meals;
After working up an appetite on the water, take advantage of the numerous picnic areas scattered throughout the park:
- Shaded tables nestled under towering pine and oak trees
- Charcoal grills available for cooking (bring your own charcoal)
- Pavilions that can serve as a home base for larger groups
- Wooden benches positioned to enjoy scenic views
The concession stand operates during peak seasons, offering simple fare like hamburgers, hot dogs, and snacks if you prefer not to pack a meal.
For the full experience, consider bringing a picnic lunch to enjoy in one of the many scenic spots. The combination of fresh air, natural beauty, and a delicious meal creates perfect day trip memories.
Trails and Nature Exploration;
When you need a break from the water, explore the park’s scenic trails:
- The Loop Trail offers an easy, shady stroll through forested areas
- Several interconnected paths wind through different ecosystems
- Interpretive signs help identify flora and fauna
- Wooden boardwalks provide viewing platforms over sensitive wetland areas
Keep your eyes peeled for native wildlife including birds, turtles, and other Florida critters. While alligators (gators) are common in many Florida waterways, they rarely venture into the busy areas of Rock Springs Run. Still, always respect all wildlife you encounter and maintain a safe distance.
Recreation Beyond the Water;
The park offers additional recreational opportunities beyond tubing:
- A volleyball net and court for friendly games
- A playground with equipment for younger visitors
- Open green spaces for frisbee, catch, or relaxation
- Swimming areas for those who prefer not to tube
- Hiking opportunities through pristine nature preserves
These varied options make Kelly Park a versatile destination where visitors can create their perfect balance of activities throughout the day.
Insider Tips for an Unforgettable Experience
Timing Your Visit for Maximum Enjoyment;
Strategic timing can dramatically enhance your Rock Springs experience:
- Weekdays are significantly less crowded than weekends
- Early morning arrivals (8-9 am) often enjoy the run with minimal crowds
- The hour before closing can offer a peaceful experience as day visitors depart
- Avoid major holidays and Spring Break when possible
- Consider off-season months (September-October) when the weather is still pleasant but crowds have thinned
- Winter visits (November-February) offer the most solitude but require planning for cooler air temperatures
During summer, the park often reaches capacity by mid-morning, especially on weekends. Plan accordingly and have a backup option in case you’re unable to enter.
Tubing Techniques for Beginners;
For those new to tubing, these techniques will help ensure a smooth experience:
- Sit in your tube with your bottom through the center hole, allowing your legs to dangle in the water
- Use your hands as paddles to steer around rocks or shallow spots
- Lean slightly toward the direction you want to go
- Link tubes together with friends by holding onto each other’s handles (but unlink when approaching narrow passages)
- To avoid getting stuck in shallow areas, lift your bottom slightly when you feel your tube scraping the bottom
- Take it slow—this is about relaxation, not racing!
The current will do most of the work, but occasional gentle paddling helps navigate around obstacles or other tubers.
Photography Tips for Capturing the Magic;
The crystal-clear waters and lush surroundings make Rock Springs a photographer’s dream:
- Bring a waterproof camera or phone case to capture underwater scenes
- The best light for photography occurs early in the morning when sunlight filters through the trees
- Look for interesting compositions where light plays on the water’s surface
- Consider bringing a floating wrist strap for your camera to prevent accidents
- The bridges offer excellent vantage points for capturing the scene below
- Be respectful of other visitors when taking photos
Remember that electronics and water don’t mix well, so take precautions to protect your equipment. A dry bag for your phone or camera when not in use is essential.
Weather Considerations and Safety;
Florida weather can be unpredictable, so keep these factors in mind:
- The park closes the waterfront immediately during lightning storms for safety
- Summer afternoons often bring brief thunderstorms—morning visits can avoid these disruptions
- Even on cloudy days, wear sunscreen—Florida sun penetrates the clouds
- The 68-72 degree water feels perfect on hot days but can be chilly in winter months
- When air temperatures drop below 70 degrees, consider bringing extra towels and warm clothes for after your swim
Safety should always be your priority. Follow all park rules, heed lifeguard instructions, and never swim or tube alone.
Local Secrets: Extending Your Adventure
Nearby Springs to Explore;
If you fall in love with Rock Springs (and most people do), consider these nearby alternatives for your next adventure:
- Wekiwa Springs State Park offers another gorgeous tubing option with slightly different scenery
- Blue Spring State Park provides opportunities to spot manatees in winter months
- Rainbow Springs features stunning waterways with different geology and terrain
- Silver Springs allows you to experience famous glass-bottom boat tours
Each spring in Central Florida has its own unique character and appeal, making the region a paradise for water enthusiasts. For an even more comprehensive Florida adventure, check out “Explore the Ultimate Florida National Parks!” to discover more natural wonders beyond the springs.
Provisions and Supplies;
For forgotten items or additional supplies, several options exist within a short drive:
- Publix supermarket (excellent for picnic supplies and prepared foods)
- Walmart and Target superstores for affordable tubes, swimsuits, and gear
- Local gas stations for quick snacks and drinks
- Several sports and outdoor retailers in nearby Apopka offer specialized water gear
If you need to inflate your tubes, most gas stations offer air pumps, or you can bring a portable pump to use at the park.
Where to Refuel After Your Adventure;
After a day of floating and sunshine, satisfy your appetite at:
- Rock Springs Bar & Grill near the park entrance offers casual American fare
- Several family-friendly restaurants in nearby Apopka cater to visitors
- Local food trucks often parked along Rock Springs Road during peak season
- Numerous dining options along Highway 441 provide various cuisines
Ask locals or park staff for current recommendations, as the dining scene continues to evolve.
Accommodations for Extended Stays
While Kelly Park doesn’t offer overnight camping facilities, there are several excellent options for turning your tubing adventure into a weekend getaway. “Booking.com” offers numerous hotels and vacation rentals in the Apopka area and surrounding Orlando region, with options ranging from budget-friendly motels to charming bed and breakfasts. We may earn a small commission if you click these links, at no extra cost to you.
For those seeking a more immersive natural experience, Wekiwa Springs State Park offers camping with both tent and RV sites just a short drive away from Kelly Park. This allows you to experience multiple springs during your stay while enjoying a true outdoor adventure.
Planning a Complete Central Florida Adventure
Kelly Park makes an excellent component of a broader Central Florida vacation:
- Balance theme park days with refreshing natural experiences
- Experience both the manufactured and natural wonders of the region
- Use Rock Springs as a relaxing break day between more intensive activities
To make the most of your visit, consider renting a car through “DiscoverCars” to easily navigate between attractions and explore at your own pace. Having your own transportation is particularly important for accessing Kelly Park, as there’s no public transportation to the springs.
For guided experiences of other natural wonders in the region, “GetYourGuide” offers excellent tours to complement your self-guided Rock Springs adventure. Options include Everglades airboat tours, guided kayaking trips through crystal clear waters, and even swimming with manatees in certain seasons.
If you’re interested in exploring more of Florida’s breathtaking landscapes, don’t miss the opportunity to “Explore the Wonders of Virgin Islands National Park!” for another incredible outdoor experience.
Preserving Paradise: Being a Responsible Visitor
Environmental Stewardship in Action;
The crystal clear waters of Rock Springs remain pristine because of careful preservation efforts. Do your part by:
- Taking all trash with you when you leave
- Using only biodegradable, eco-friendly products (especially sunscreen)
- Staying on designated trails and paths
- Respecting wildlife and their habitats
- Never feeding or harassing animals
- Following all park rules and staff directions
The delicate ecosystem of the springs depends on responsible tourism. Consider your visit an opportunity to practice environmental stewardship while enjoying one of Florida’s most beautiful natural attractions.
Supporting Conservation Efforts;
Beyond practicing responsible tourism during your visit, consider supporting ongoing conservation efforts:
- Learn about the importance of Florida’s springs and watershed
- Support local conservation organizations focused on protecting Florida’s natural resources
- Educate others about the value of these unique ecosystems
- Participate in volunteer cleanup events if you’re a local
- Follow the park’s social media accounts for conservation news and initiatives
Your awareness and activism help ensure that Kelly Park remains pristine for future generations to enjoy.
Ready for Your Rock Springs Adventure?
Kelly Park’s Rock Springs offers one of Florida’s most accessible and delightful natural getaways. With its perfect combination of refreshing waters, beautiful scenery, and family-friendly atmosphere, it’s no wonder this hidden gem has become a beloved destination for both locals and tourists.
The crystal-clear water, comfortable 68-72 degree temperature, and gentle current create an ideal environment for floating, swimming, and connecting with nature. Whether you’re seeking a peaceful escape from Orlando’s theme parks or a refreshing weekend adventure, Rock Springs delivers an authentic Florida experience that will leave you planning your return visit before you’ve even left.
Plan your visit, gather your gear, arrive early, and prepare to make memories that will last long after the Florida sun sets on your perfect day of tubing and adventure.
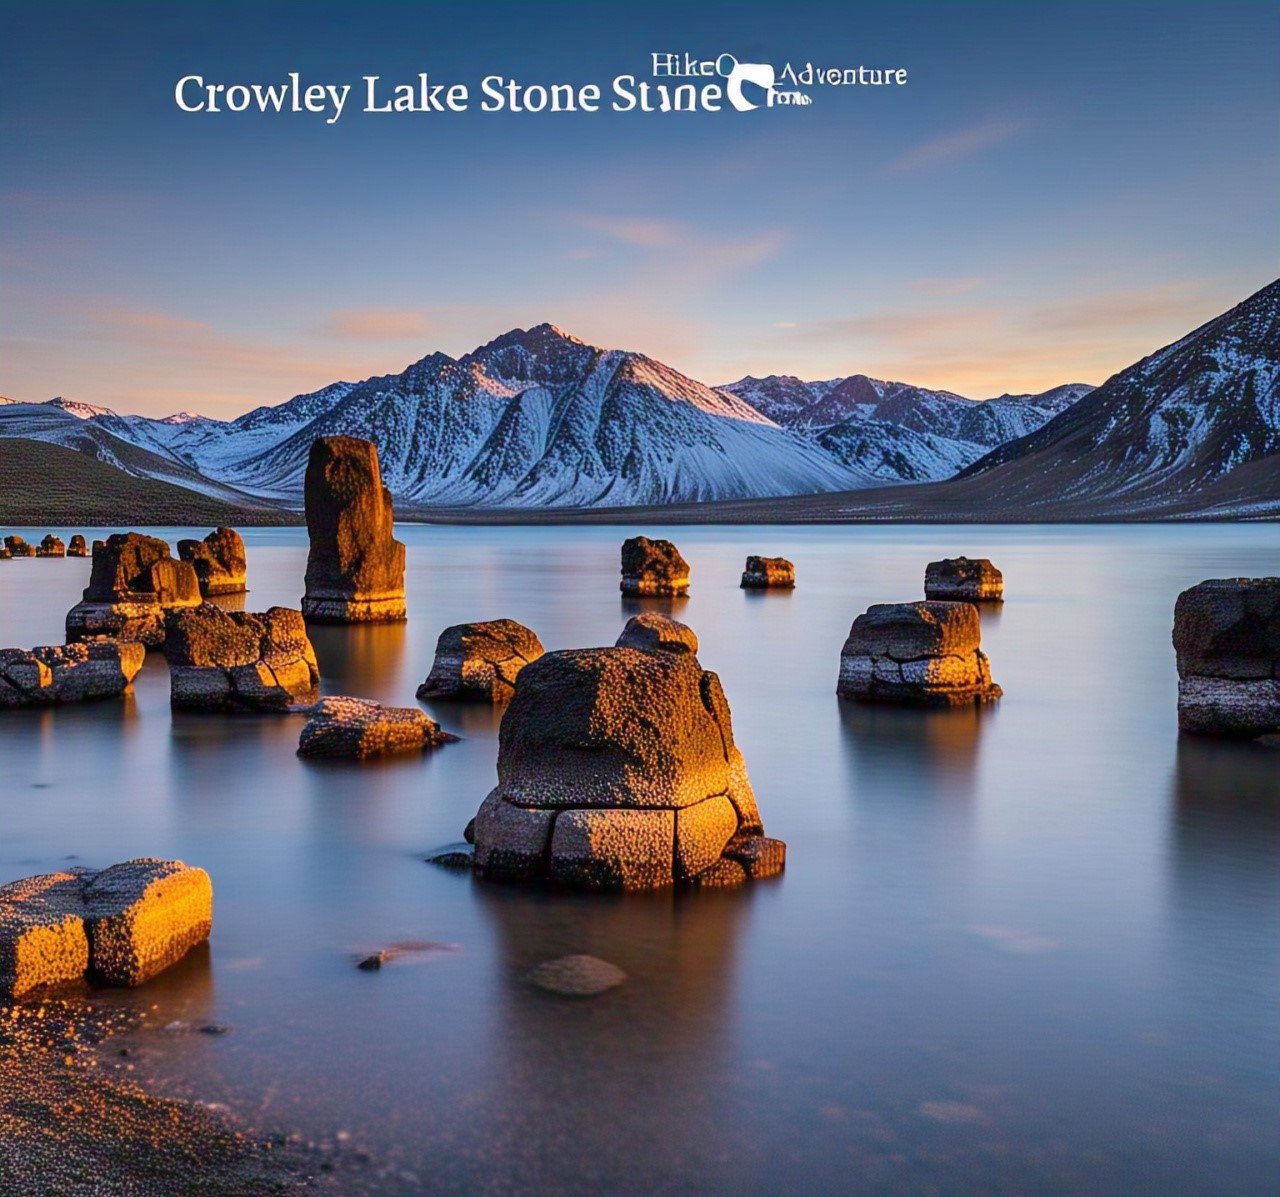
Pro Tip: Just like uncovering the “Secrets of Crowley Lake’s Baffling Stone Columns Revealed”!, exploring Rock Springs has its own hidden wonders—so keep your eyes open for unique formations along the way!